Getting a Portuguese Residency Visa (Part I)
Portugal is an incredible country.
You may have visited one time, many times, or not at all but know in your heart of hearts that it’s your future home.
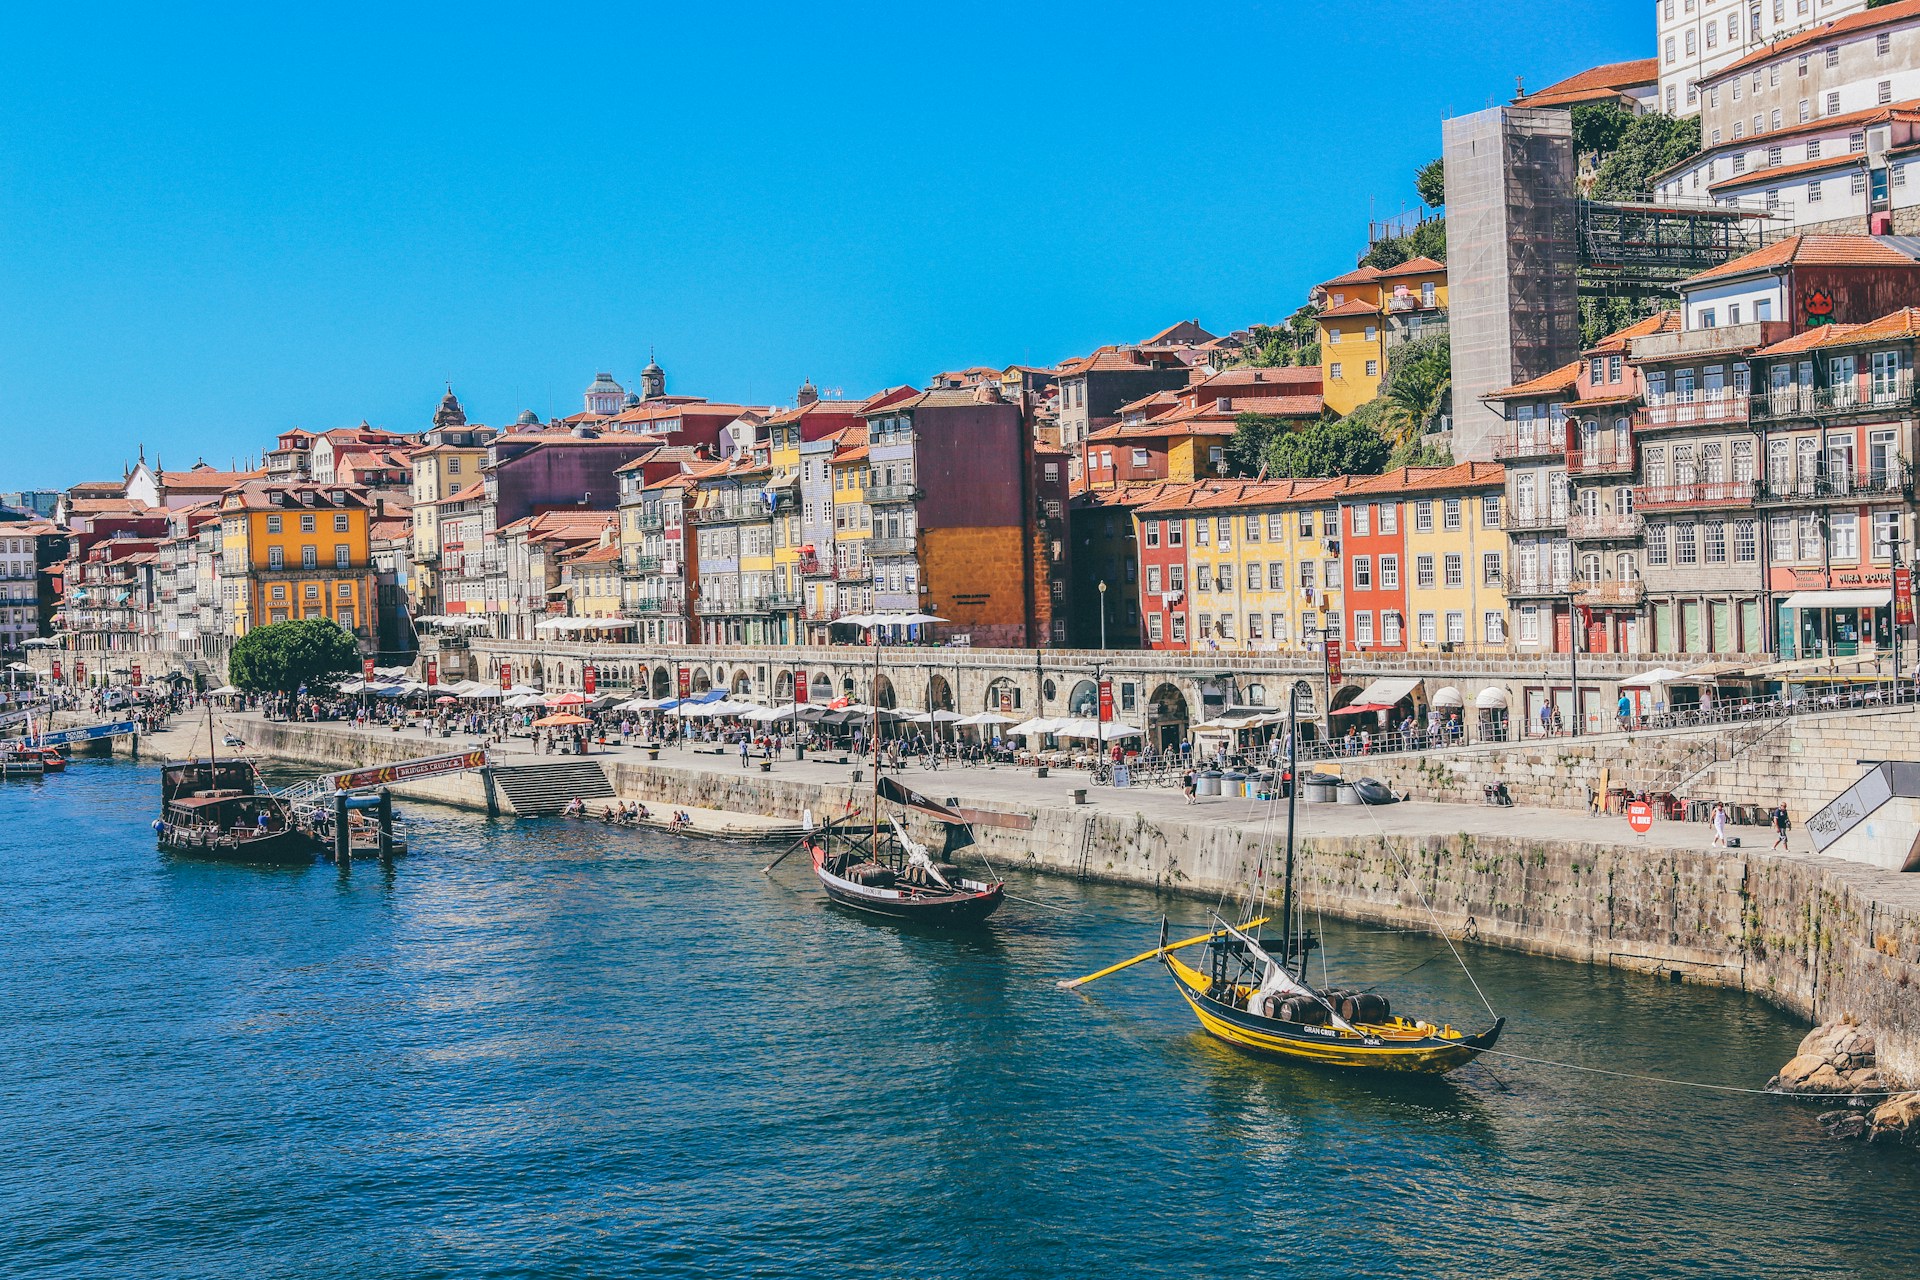
Perhaps you want to move to the calming coastline of the Algarve…

Or in the bustling metropolis of Lisbon…

Or maybe near the vinho verde action in Douro Valley.
Whatever your why, we’re guessing that those are only some of the many reasons that Portugal is calling your name. We made the move in 2023 and it’s, hands down, the BEST decision we ever made. That said, we know from experience that the Portuguese immigration processes, although seemingly simple, can feel overwhelming at times.
If you’re thinking of making the move, we’ve put together a detailed overview of every step we went through, along with some invaluable tips we learned along the way; we wish we had something like this last year! Don’t forget, there will be two additional posts released soon about the second phase of the immigration process as well our first-hand POV on adjusting to life in Portugal.
Enjoy!
Important note: This post is only meant to be a frame of reference; by no means should this be interpreted as legal/immigration advice. Additionally, this post is specifically geared to Americans as it reflects U.S.-specific procedures we followed. Every country may have its own set of rules and regulations pertaining to the Portuguese visa process so be sure to do your due diligence!
OVERVIEW
In order to move to Portugal, we underwent two phases:
- Residency Visa application & approval (valid for 4 months)
- Residency Permit application & approval (good for 2 years)
For the purposes of this post, we’re only focused on Phase I | Residency Visa.
RESIDENCY VISA PROCESS
VFS Global
Given the influx of immigration requests to Portugal, their government outsourced portions of the visa application process to a third party company known as, VFS Global.
The VFS Global’s website was our BIBLE during the process and we closely followed the listed instructions for our visa, comprising of 7 steps:
- Identify the visa type desired
- Fill out visa application form
- Book Visa Center Application appointment
- Gather forms of payment
- Visit Visa Application Center
- Track the application
- Collect passport
Application Process
- Identifying the visa type
There are several types of Portuguese visas available; for us, we chose the National Visa / Digital Nomad on VFS’ website.
Upon selecting our visa type, we were then directed to a PDF checklist outlining the items we needed to gather ahead of our appointment (essentially, we were tasked with creating an application packet that we needed to bring, fully completed, to the appointment).
Important Note: Be sure to check the VFS website for the most up-to-date list as I’ve noticed it’s changed since we initially underwent this process last year. Below reflects what we were tasked with gathering in 2023.
The list was broken up into two parts: Standard and Additional documents required:
| STANDARD Documents Required | Notes |
| National visa application | Each of us were required to have our own visa application. You will also need to include two color passport-size photos. Aviothic Tip: Get 4 color passport-sized photos; you’ll need 2 for your VFS appointment and one for your SEF/AIMA appointment (more on that in the next post). |
| Passport | We did not have to surrender our passports until our visa application was approved. Once it was, we mailed our passport into VFS using an envelope prepaid at the time of our visa appointment (the fee was nominal from what I recall). |
| Proof of means subsistence | We printed 3 months of bank statements. For joint/shared accounts, we simply printed them twice and included a copy in each application packet. |
| Valid health insurance | At the time we applied, we needed to have health insurance coverage in Portugal; we opted to purchase private Portuguese health insurance (medical & dental), which we got through MEDAL/Allianz Health. Prior to getting our health insurance, we signed up for an Afpop membership (65 euro/year per couple); they’re an association for foreign residents in Portugal. They have a relationship with MEDAL/Allianz, whereby we received a special rate on Allianz insurance (unfortunately, I don’t recall the exact discount details). Note: (1) In 2023, annual insurance for my husband and I was $1,000 USD/per person but it shot up to $2,000 USD/per person in 2024. Still a hell of a lot cheaper than what we paid in the States. (2) It looks like now all you need is travel health insurance; if you already have health coverage through your employer or business, travel health insurance may already be included so be sure to check your policy details! |
| Criminal record certificate (aka FBI background check) | We used an FBI channeler (i.e., a federal fingerprinting-approved location) to take our fingerprints. Within 24 hours, we received our FBI background checks via email then submitted them to Visa DC to get them apostilled (aka apply an official US State Department seal). We did this due to some unique circumstances we faced. Their services were wonderful, but if we could have, we would’ve just followed the instructions here (I know – bizarrely, the FBI site doesn’t look legit, but it is; we found it through the US Embassy in Portugal). |
| Request for criminal record inquiry (from Portugal) | There wasn’t anything we needed to do for this in advance; if memory serves us correctly, we simply agreed to Portugal conducting a background check on us during our VFS appointment. |
| Personal statement | We wrote our letter highlighting all of the reasons why we wanted to move to Portugal, where we planned to live, and offered our reassurance to the approving officer (that we’d honor, respect, and cherish their country as much as they do); we think this was a useful touch as part of our application. |
| Proof of accommodation | Since we didn’t know anyone in Portugal, we had to get an apartment and included our lease agreement in the packet (alternatively, if you have someone to stay with you can provide a letter from them approving of your stay at their home or a 6-month hotel/Airbnb reservation). We found our fully furnished apartment on Idealista, a housing website listing properties to buy or rent throughout Portugal. We had to provide a deposit of 6 months’ worth of rent. We highly recommend getting yourself set-up with Wise Transfer, to send the deposit (and rent) to your landlord until you get your Portuguese bank set up (more on that below). |
| Transportation document | We simply printed out our airline confirmation receipts. Aviothic Tip: Purchase refundable tickets. We’ve heard stories from friends who booked their travel but didn’t get their visas approved until after their travel date passed. |
In addition to the standard documents required, there are some additional ones that are also necessary pieces of the visa application process:
| ADDITIONAL Documents Required | Notes |
| Proof of Independent Work | We submitted my husband’s LLC documents as well as professional certification information. |
| Proof of Income | We printed out statements from my husband’s business checking and savings account (3 months’ worth). |
| Proof of Address | We provided copies of our drivers licenses. |
| NIF | A NIF is your Portuguese tax identification number (i.e., Número de Identificação Fiscal). Think of it like a social security number meets expense tracker for taxes (you give it at the register whether you’re buying groceries, a TV, car, paying rent, etc.). At the end of the year, the purchases you made are offset against the taxes you owe for the prior year. We used the company, BORDR, who we provided Power of Attorney to to secure the NIF on your behalf. They even helped us open a Portuguese bank account (with Millennium Bank) remotely. The process takes a few weeks as we had to DHL some documents to Millennium Bank as part of the process. There is a discount if you purchase both at the same time (we didn’t and had to pay a little bit extra; avoid that if you can). |
- Fill out visa application form
The application, which was available on the VFS website, was pretty straight-forward.
- Book Visa Center Application appointment
To apply for our Portuguese visa, we were required to do so in person. The location we were assigned was dependent on the state in which we resided (more here) and could take place at either a VFS Global office or a Portuguese Consulate General. Since we were applying from Illinois, we had to go to VFS’ office in Washington, D.C.
Appointments were available 2-3 months out (some became open within shorter periods, which we only knew from stalking the appointment portal). Be sure you have most if not all of your application packet completed before booking your appointment.
Important note: When we initially made our appointment, it was a joint one for me and my husband. Unfortunately, we had to reschedule due to unforeseen circumstances. In doing so, we were subsequently decoupled in their system and forced to reschedule our appointment as two different sessions (vs. one) in completely different months. I took a risk and joined my husband’s appointment with him (in hopes they’d take pity and see me too); thank goodness they did (since we were from out of state it would have been a pain to return again)!
- Gather forms of payment
There were three payments we had to provide at the time of our appointment (please note 2023 prices are reflected below and may have subsequently changed since we went through the process; be sure to check with VFS so you know exactly what’s needed):
- VFS service fee: $41 USD per person | We paid this via credit card since it was payable directly to VFS
- Portuguese visa application: $97 USD per person | This had to be paid via money order to “Consulate General of Portugal’. Since that wasn’t clear on the VFS checklist, we had to run to the nearby Post Office during our appointment, which wasn’t a problem but an irksome surprise. Be sure to get this in advance from your local bank, convenience store, drugstore, superstore, etc.
- Prepaid FedEx envelope: $35 USD total | This was for VFS sending our passports into the Portuguese Embassy for the visa to be inserted (once we sent our passports to them); one envelope was used for both passports.
- Visit Visa Application Center
The appointment itself was very straightforward; the agent simply stated each document she needed from us and we handed them over. At the end, we made all of our necessary payments (detailed above), and received a tracking number for our application so we can check the status of the approval. All in all, the appointment itself took about 30 minutes.
- Track application
We applied in late April and by late June we received approval. The application tracker, for whatever reason, never worked for us. In our appointment, we were told that the processing time could take anywhere between 3 weeks to 2 months, which largely depended on the time of year (one expat friend said she and her husband were approved within 1 month; their VFS appointment was in September 2022).
Keep in mind too that some application centers are more efficient than others. We learned from friends who visited the San Francisco location that it took them 6 months (!!!) to receive approval. It all boils down to location and timing.
- Collect passport
Once we received approval, we submitted our passports to VFS so they could be routed to the Portuguese Embassy where they inserted our visa (valid for 4 months).
Once we received our passport, we were on our way to Portugal!
AVIOTHIC TIPS / THINGS TO DO BEFORE LEAVING THE U.S.
- Apartment Rental
- We found our apartment a few months before we received our visa approval; as a result, we ended up paying rent for a place we didn’t live in for a two months. In speaking with other expat friends, they had the same experience too (just an FYI!).
- It also took us about a solid 4-6 weeks to secure a rental; we reached out to over 50 agents about listed apartments and the units were either already taken or we never received a response; perseverance is key!
- Banking & Money Transfer Services
- Earlier, we noted that we used BORDR to help get our NIF and Portuguese bank set-up, both of which were needed to get our Allianz health insurance (it had to be paid for via our Portuguese bank account).
- We used Wise to connect to our US bank so we could then transfer money to our Portuguese one. It’s easy to use and the transfer fees were reasonable; highly recommend them.
- Apostilled US Driving Record
- One thing we should have done but didn’t know to do before we moved was to get a certified and apostilled driving record from our state DMV (it may also be called a Driving Record Abstract). This documentation is necessary in order to exchange our US drivers’ license for a Portuguese one (which is required within 90 days of receiving your residency permit in order to be legally permitted to drive in the country)
- Take our advice and get this done before you head to Portugal (unfortunately, the US Embassy nor Consulate in Portugal can do this for you); it will likely be two-step process (but be sure to do your research online and check with your DMV; this isn’t gospel):
- Securing your driving record or abstract from the documents from your DMV
- Sending the document for apostilling to your Secretary of State
- Check Your SEF Appointment Details
- See more information in the Moving to Portugal | Part II post (coming soon!).
- Packing Lightly
- Since we were uprooting our entire lives, we knew we didn’t want to move with a ton of stuff (especially since our apartment in Portugal was fully furnished) so we came with just 4 suitcases and our dog; some friends of ours shipped palettes, which you can certainly do but be prepared for a potentially long wait. Items can get held up in Portuguese customs for days, weeks, or even months!
- Traveling with Pets
- Since we were traveling with our rescue dog, we needed to get a USDA-vet certified pet passport for her ($450 USD); this took about 10 days to get – from the time of the appointment to receiving the authorized paperwork (it also could only be valid within 10 days of our departure date so was the last step on your to-do list).
- During our appointment, the vet also prescribed us trazodone to help ease her anxiety too while traveling; you may want to ask your vet for the same
- Based on our research, TAP Airlines had the most animal-friendly policies, which made them a no-brainer for us. The TAP flight attendants as well as airport staff at JFK and Lisbon (where we flew in and out of) were incredibly kind, oftentimes helping to expedite us through security and immigration lines with ease.
- Since we were traveling with our rescue dog, we needed to get a USDA-vet certified pet passport for her ($450 USD); this took about 10 days to get – from the time of the appointment to receiving the authorized paperwork (it also could only be valid within 10 days of our departure date so was the last step on your to-do list).
IDEAL TIMELINES
In total, this process should take you anywhere from 4-12 weeks to complete (including having your visa appointment); the key is focusing on the order of operations. If we could do it all over, we would have started some tasks sooner; here’s how we’d do it (again, this isn’t gospel, but a rough, simplified timeline that you may find useful):
| Step | Task | Time It Took to Complete |
| 1 | FBI background check | 8 weeks |
| 2 | Private health insurance coverage | 7 weeks |
| 3 | Apartment lease | 6 weeks |
| 4 | BORDR (NIF & Millennium Bank set-up) | 4 weeks |
| 5 | Complete application & gathering all other docs (i.e., personal statement, passport photos, financial statements, proof of income, etc.) | 1-2 weeks |
| 6 | Pet travel passport by USDA-approved vet (if traveling with pets) | 1-2 weeks |
Remember, some timelines like the FBI background check may be truncated if you follow the instructions above. And don’t forget, your application packet should be close to complete before you book your Visa Center Application appointment (or even book your travel to Portugal, as processing times can be long; aim for a refundable ticket).
Phew… that was a DOOZY of information 😅; hopefully, that was helpful! Don’t forget, this is only Phase 1 – the visa process; Phase 2 is the permitting process, which will be covered in the next post.
Stay tuned!
xoxo
